Concept Idea
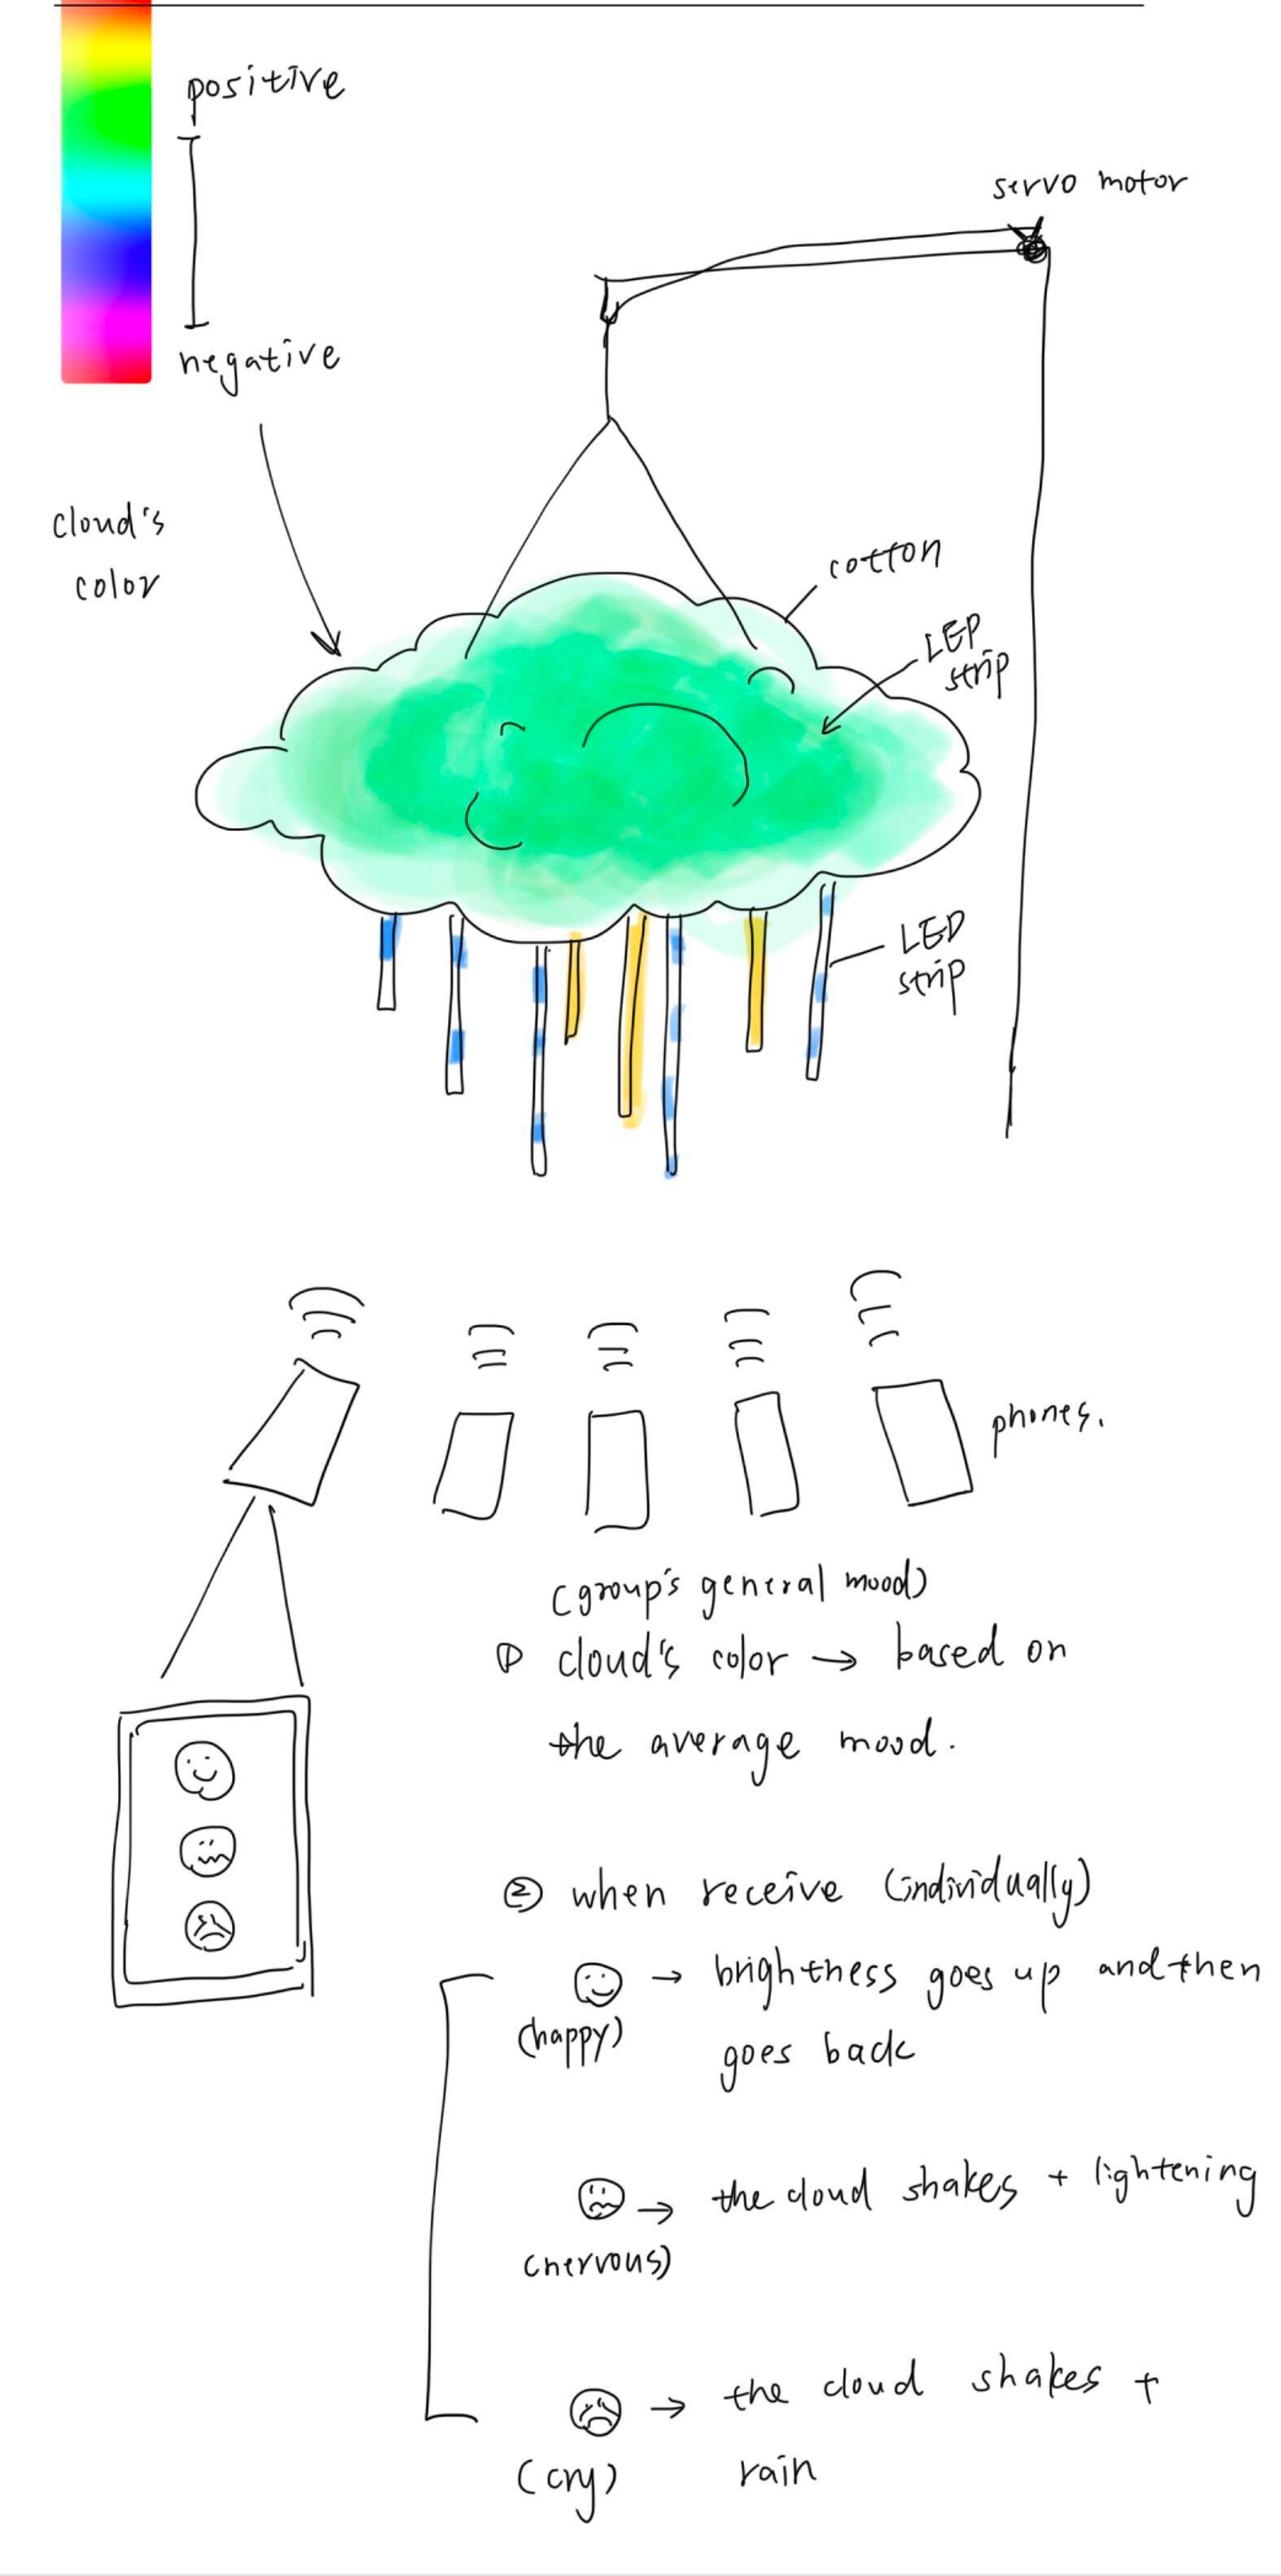
We planned on using MQTT to let multiple devices communicate. Multiple phones can send mood types to the cloud and the cloud will generate the color responding to people's mood.
Final Sketch
References


Installation
Code, Fabrication
We planned on using MQTT to let multiple devices communicate. Multiple phones can send mood types to the cloud and the cloud will generate the color responding to people's mood.
Final Sketch

References


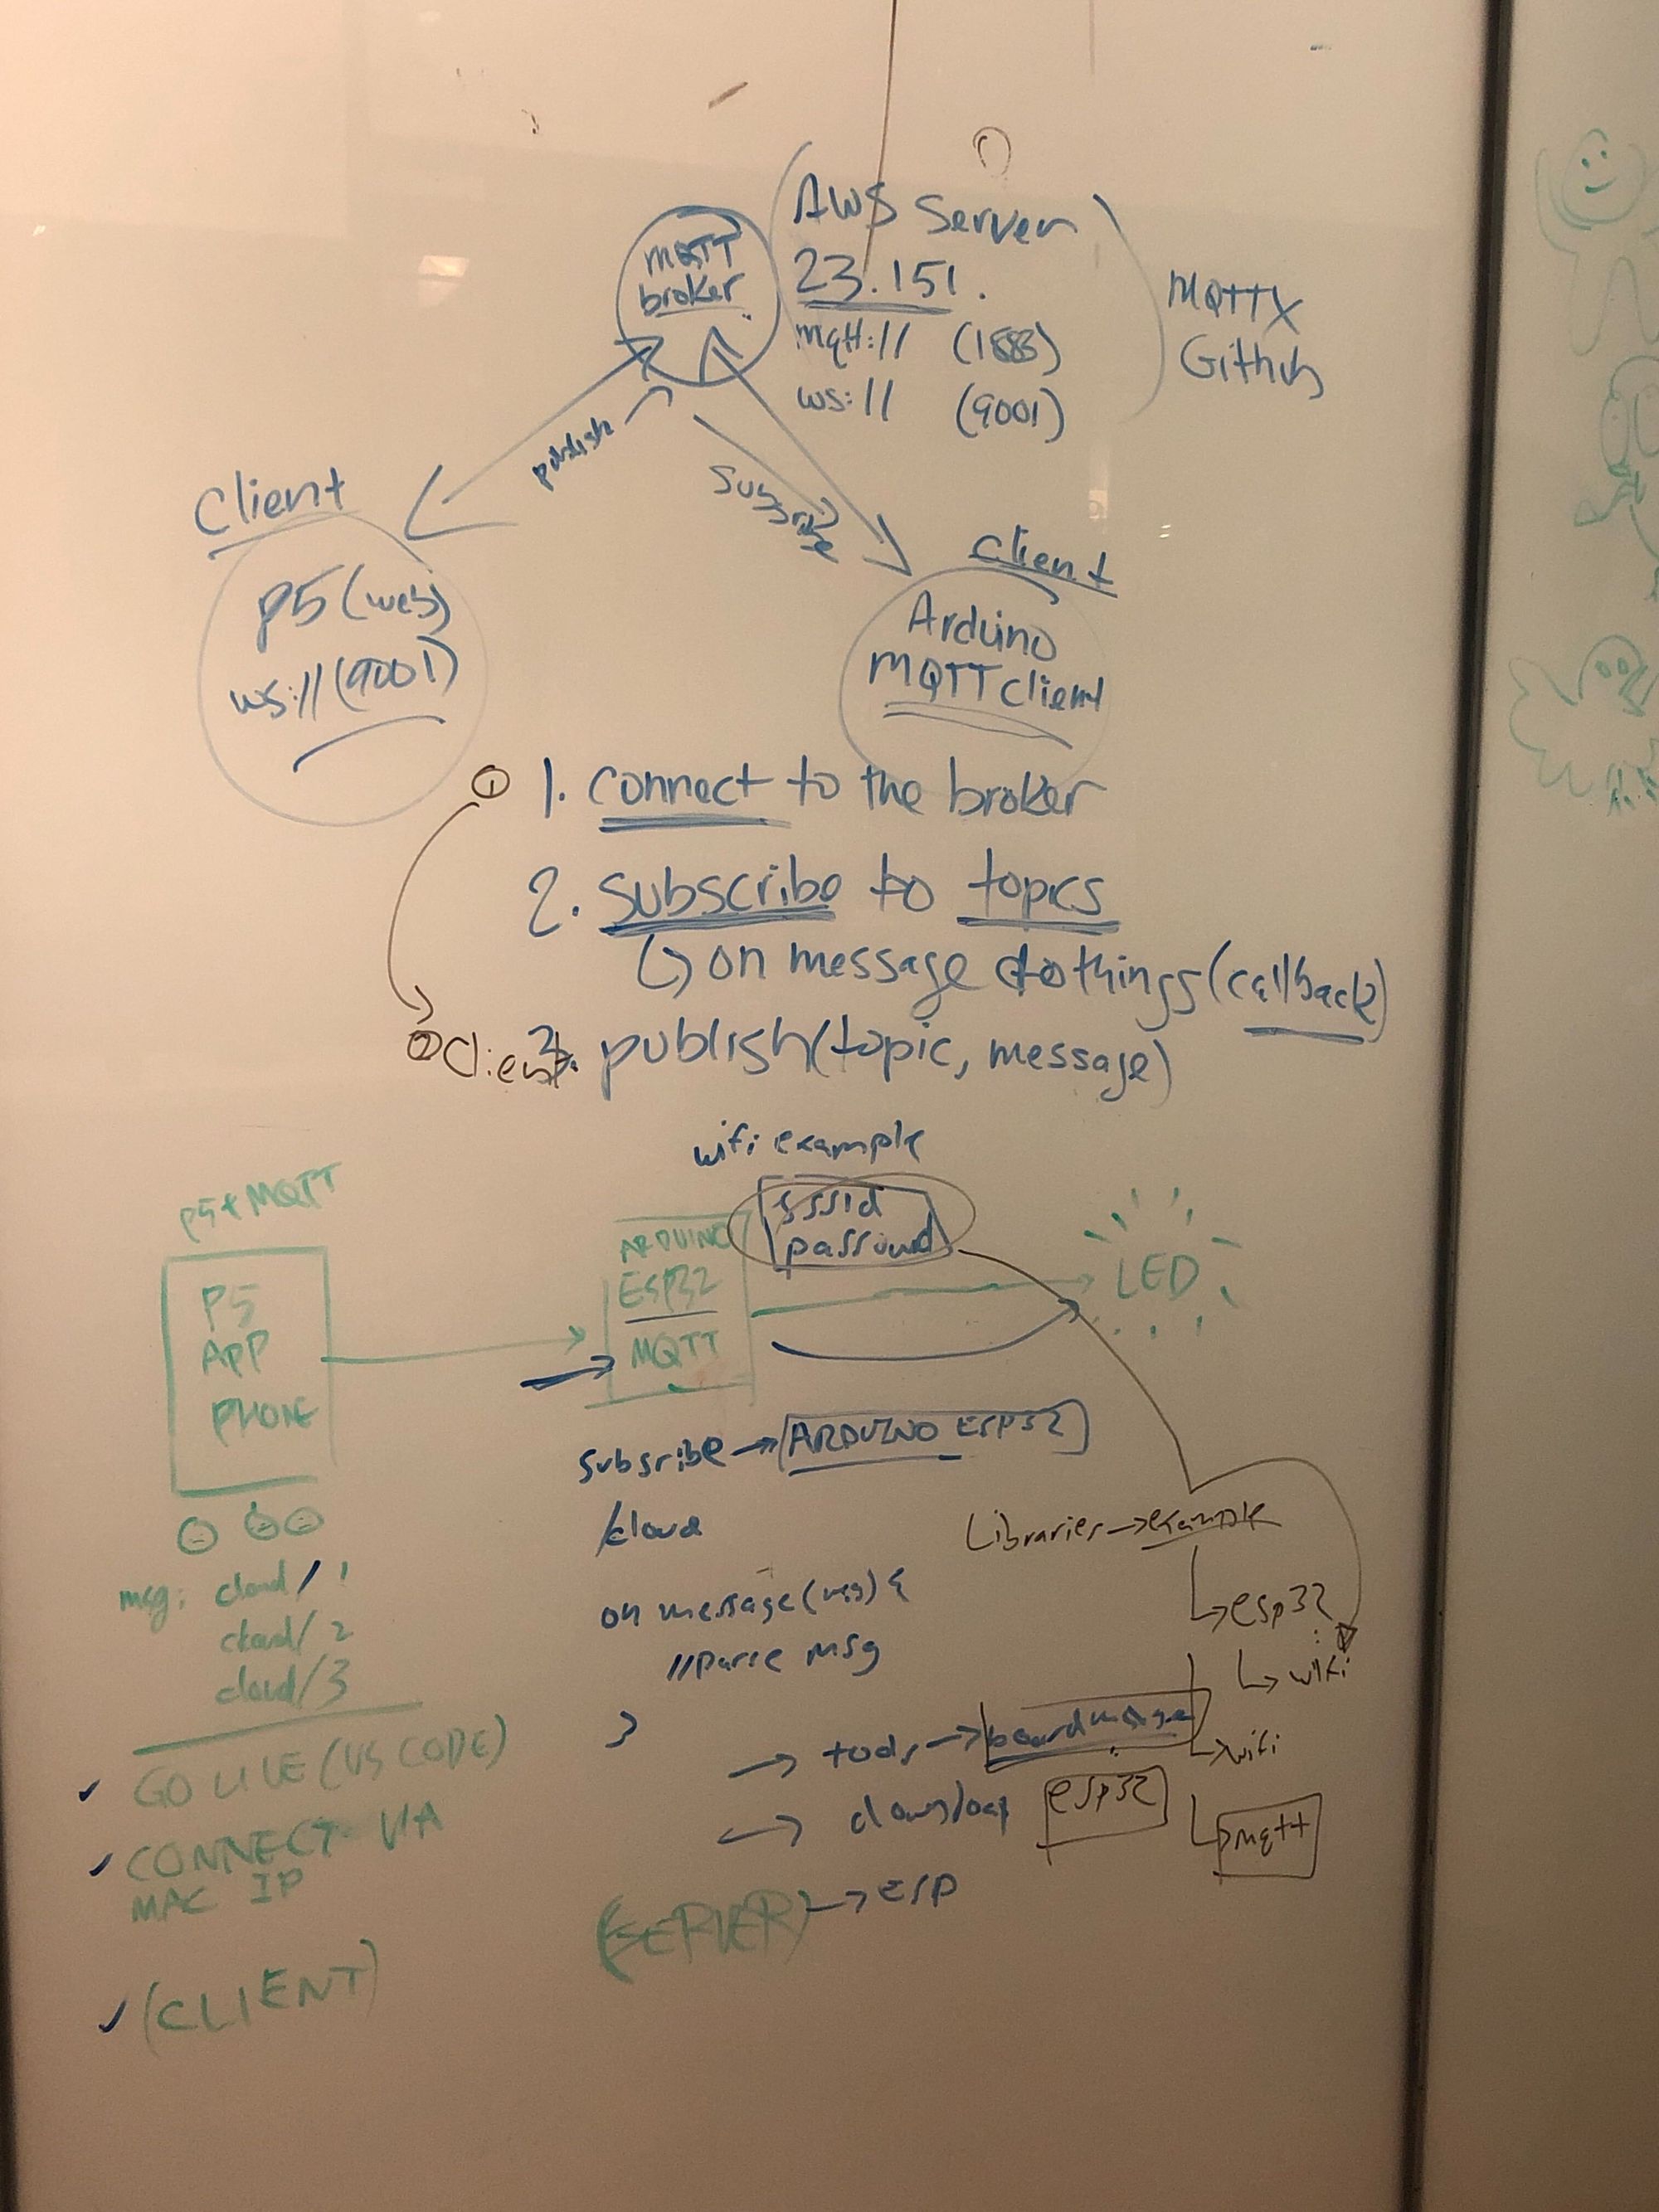
List of things we researched:
We firstly used AWS as our server. There are a lot of things need to do for preparing it.
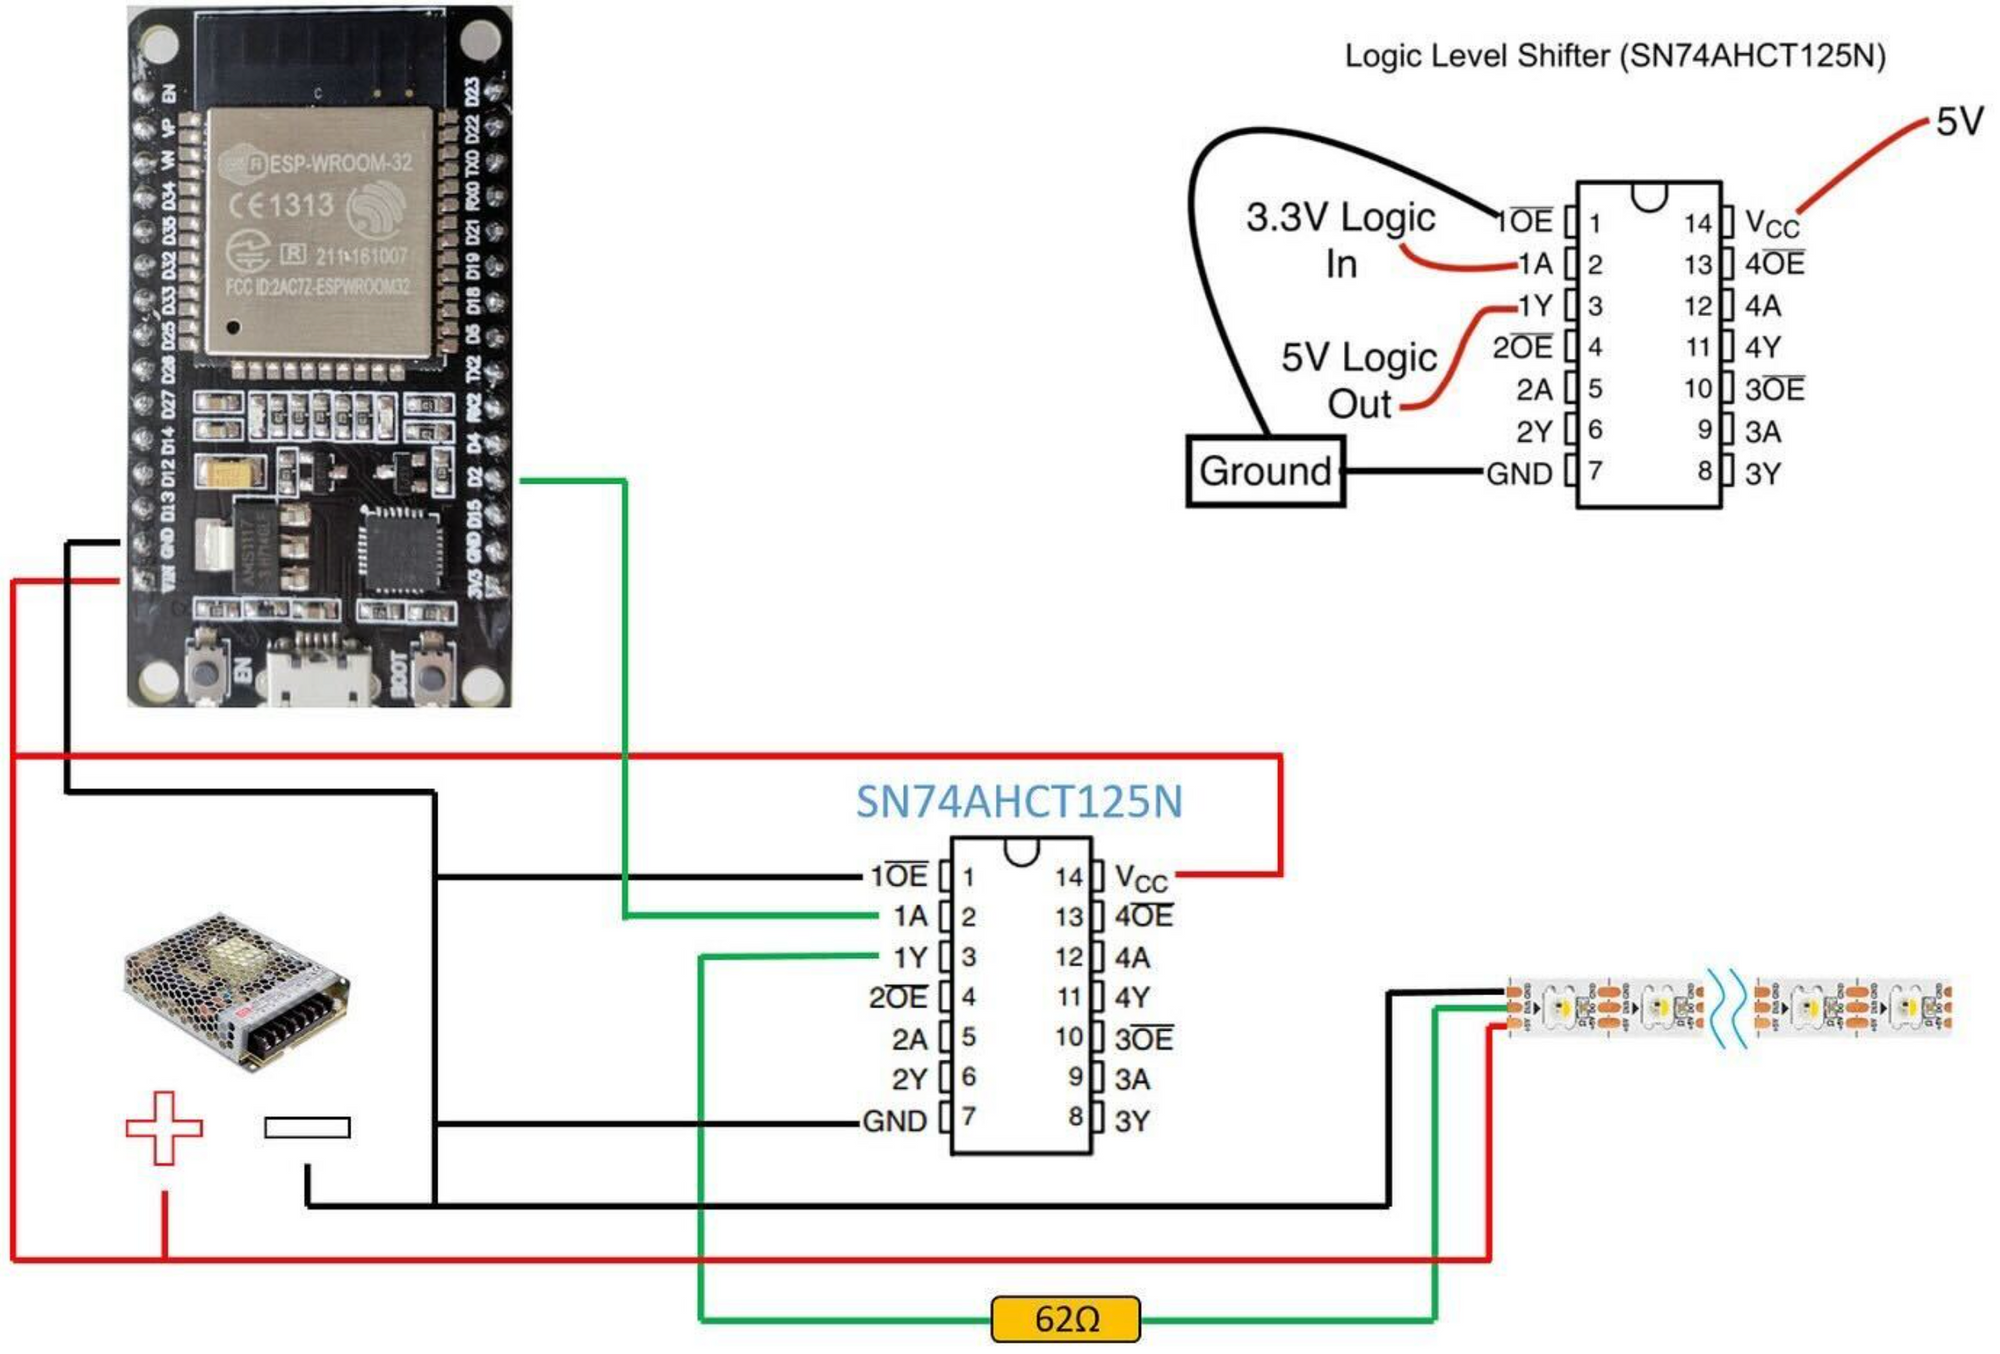
There are a lot of details and knowledge of ESP32 board. Each pin has its own function.
We learned the ESP32 pin functions here

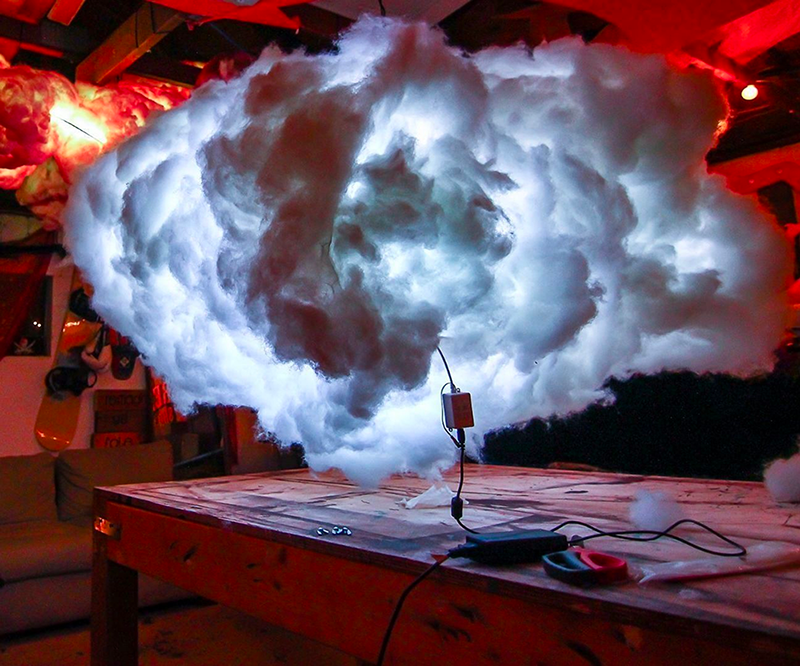
We designed a small version of cloud for testing LED and cotton material at the first. We used soft wire to make a prototype wire structure and put LED strips and cottons in advance.

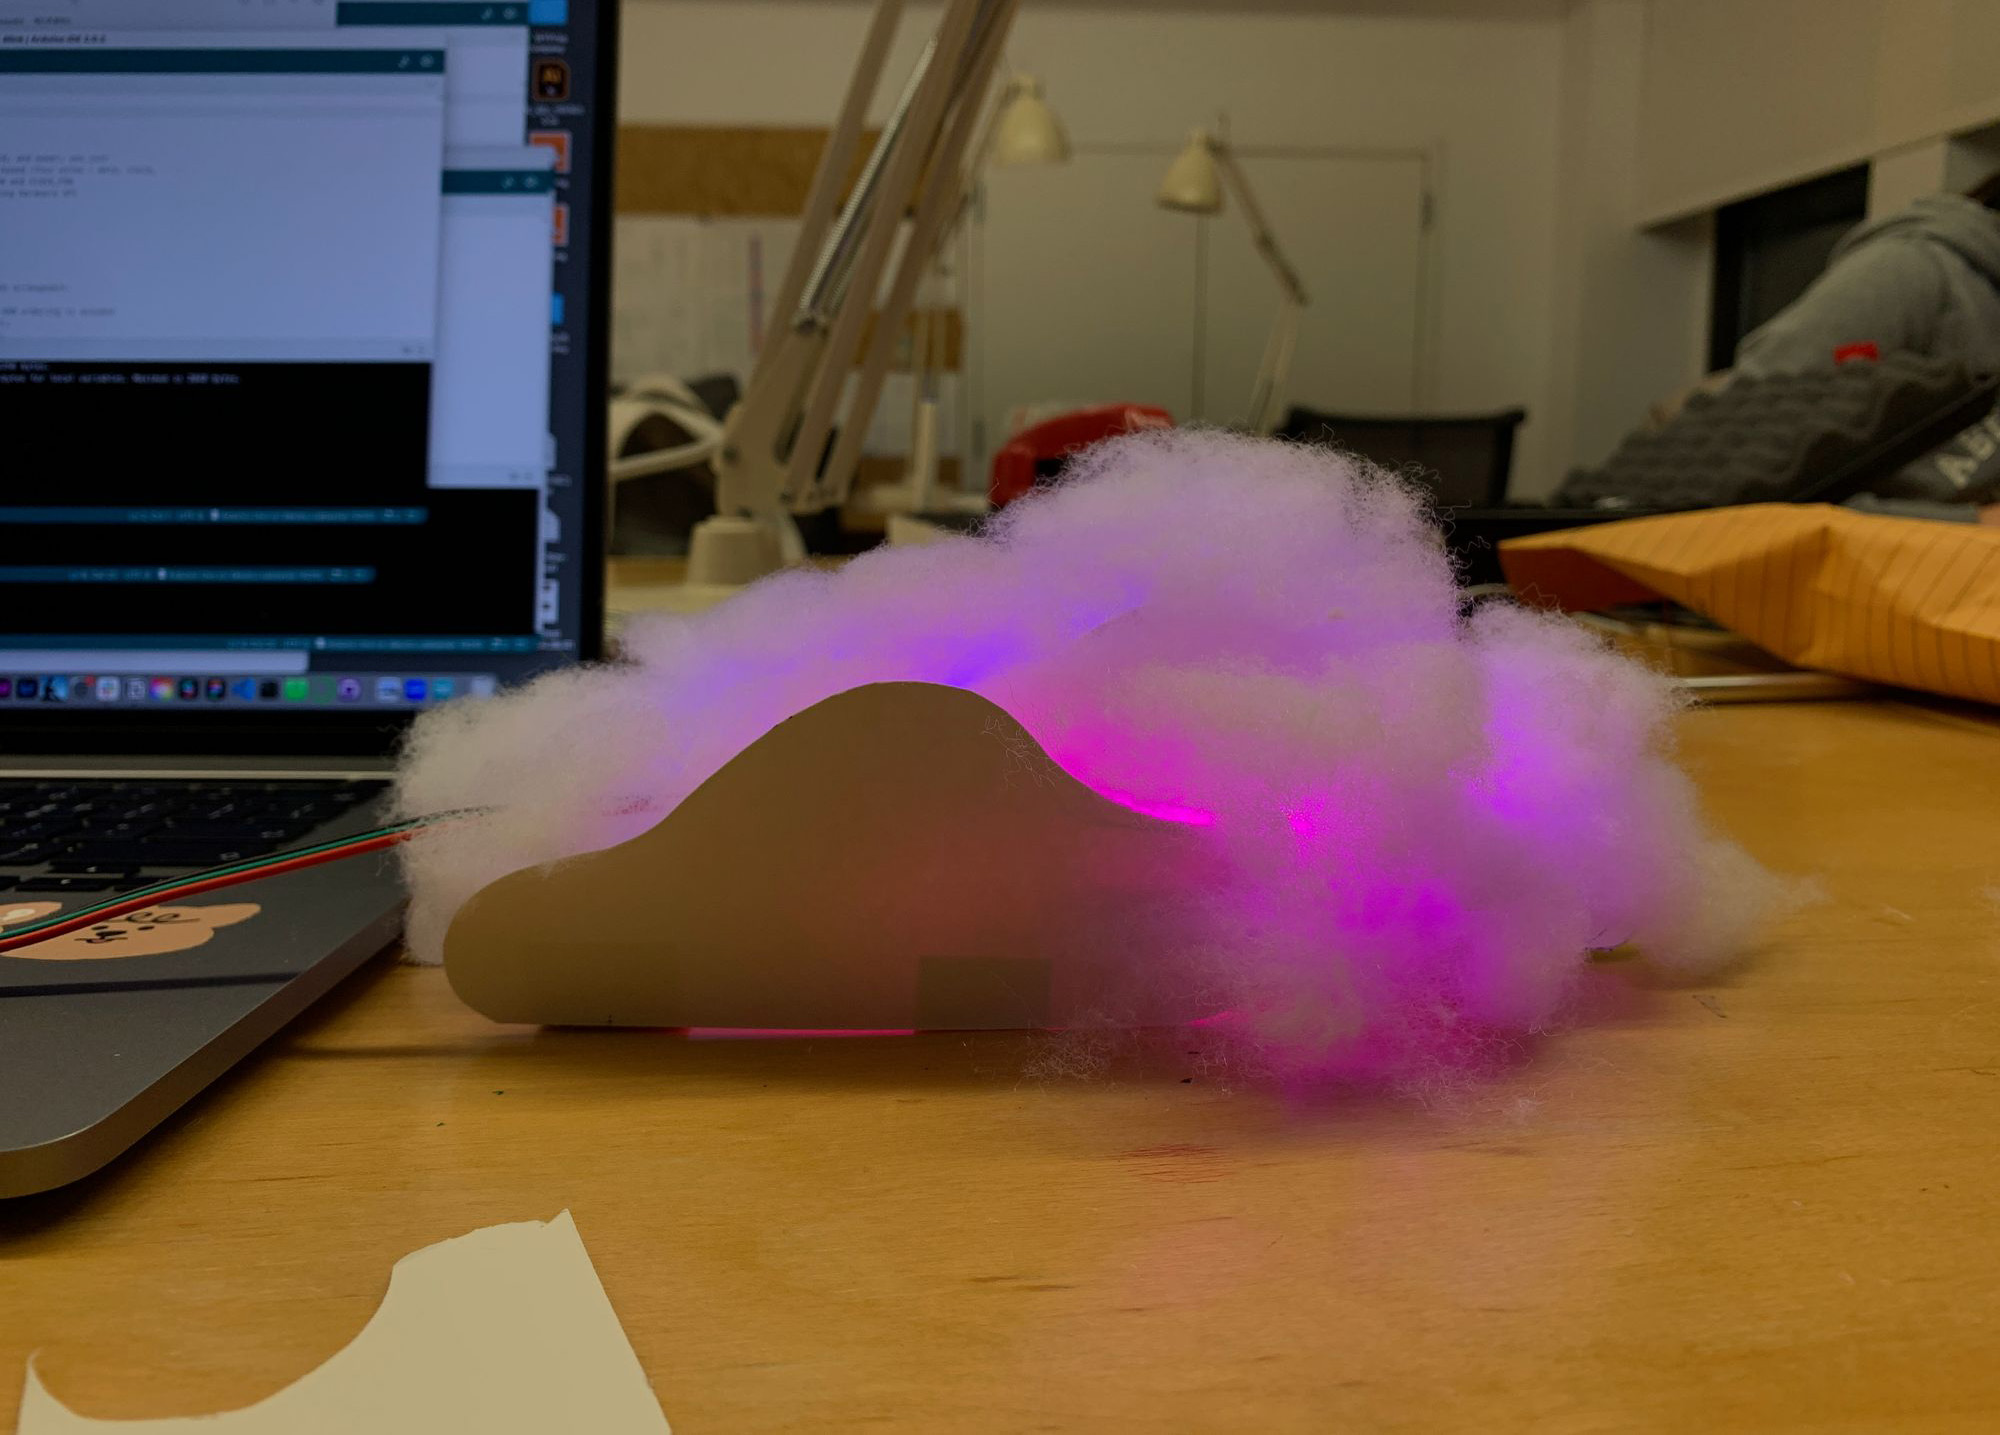
In the beginning, we designed a small version of cloud for testing LED and cotton materials. After making wire-frame, we changed the plan to use cleared wrap rather than paper.The reason of the using wrap is that paper was easy to teared and wires were not really stable so it cannot maintain the shapes. we took off all the paper and wrap the each section individually.
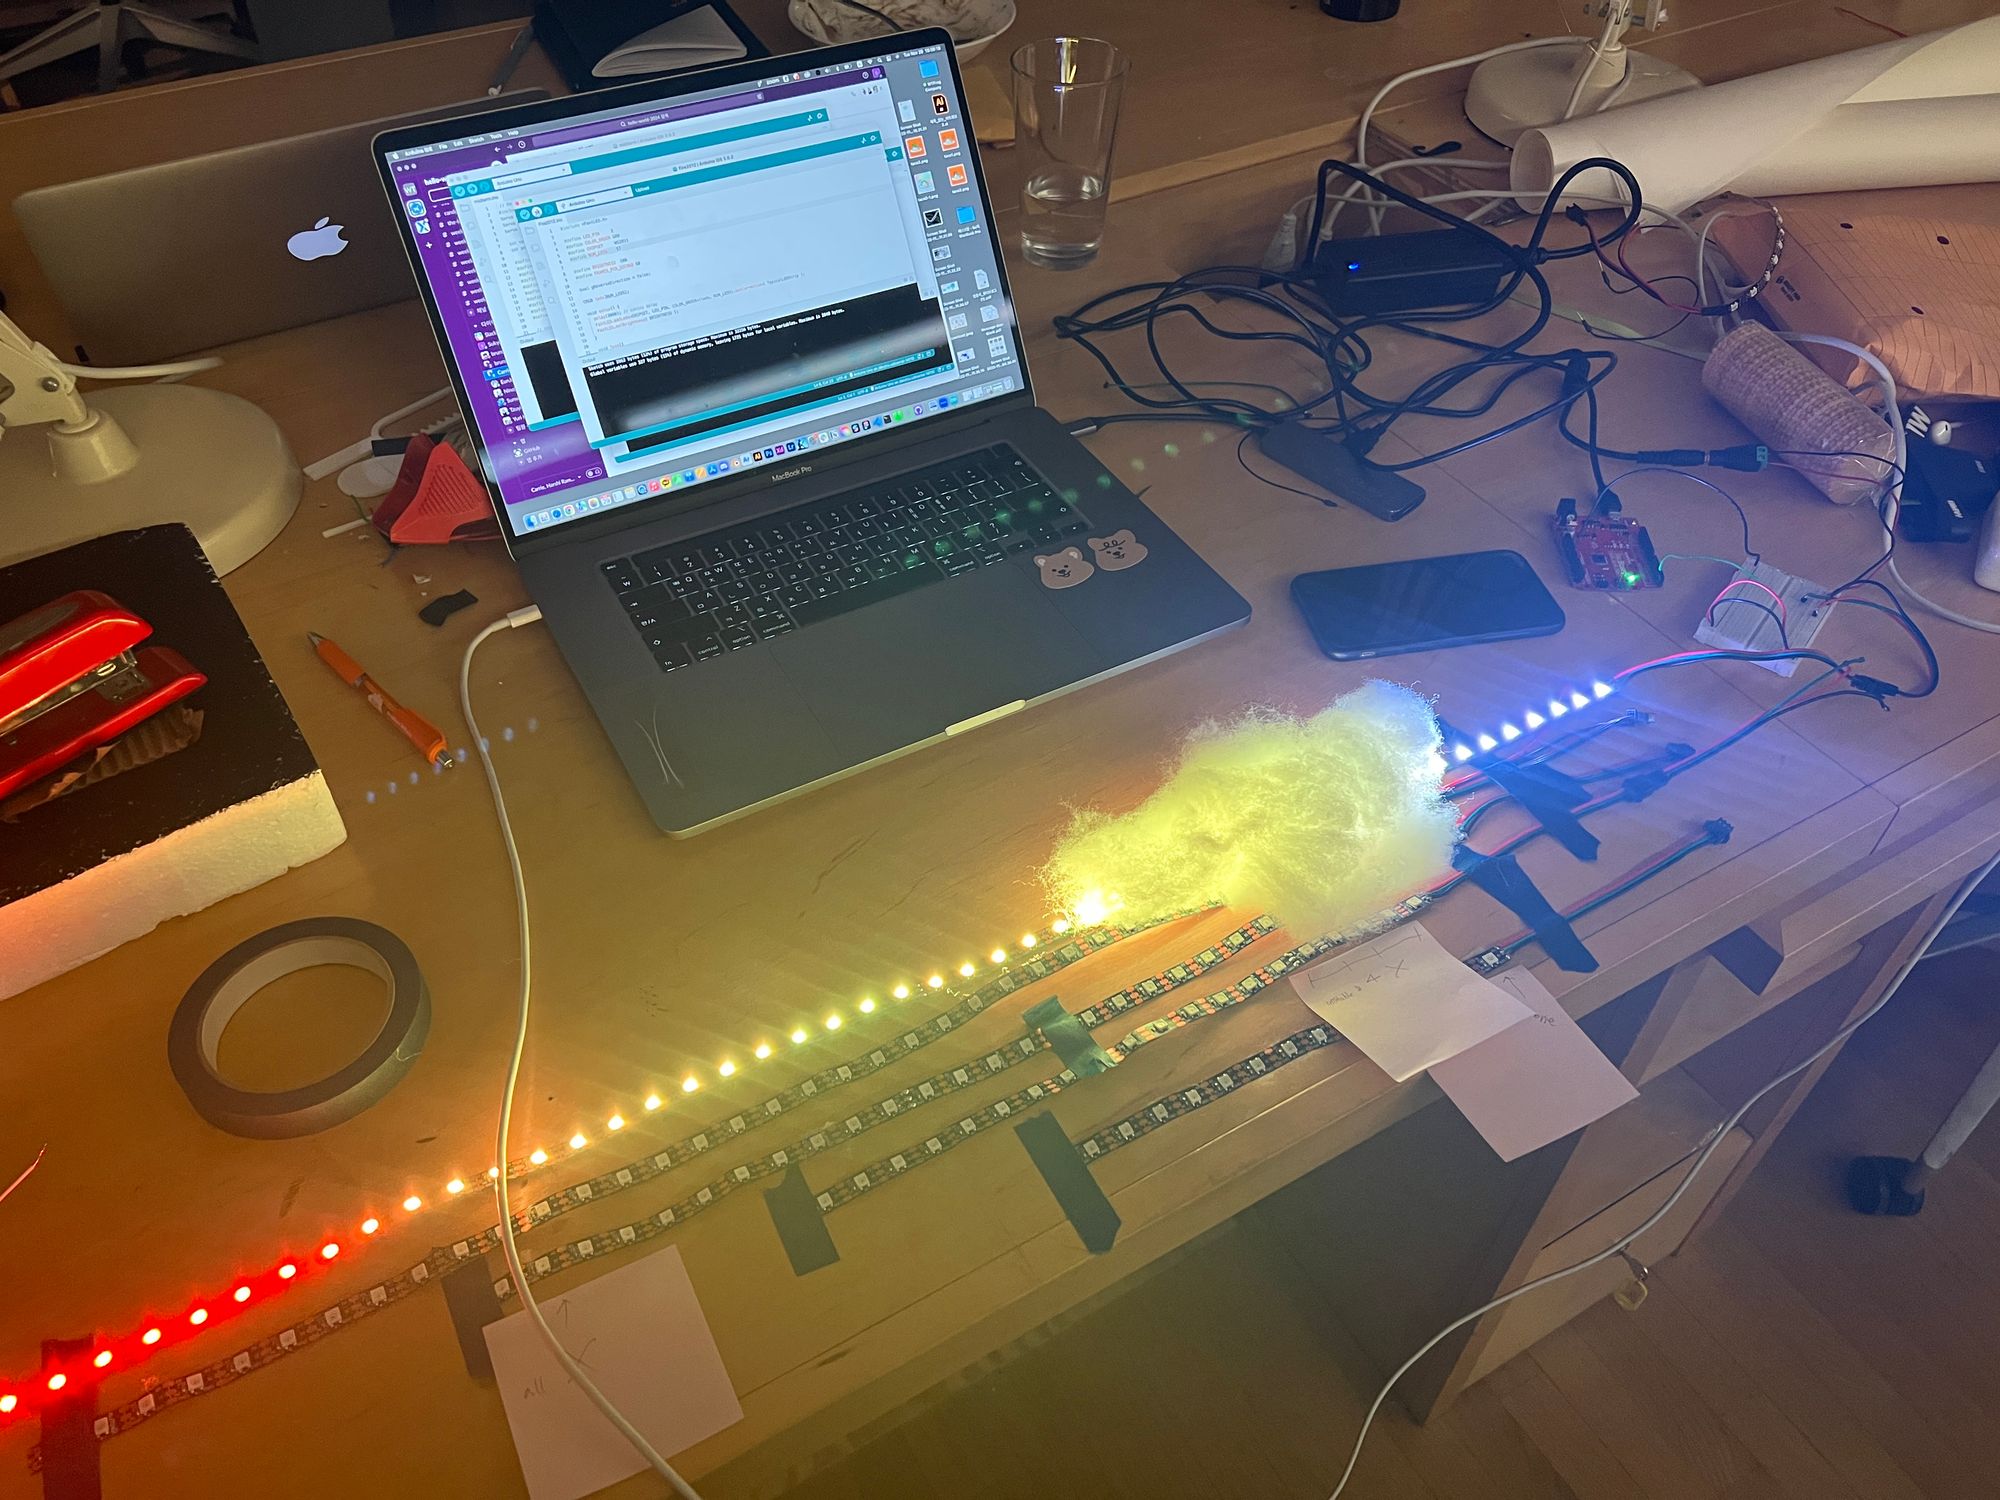

Using clear wrap, each area was wrapped to prevent the wires from touching the leads. The top of the cloud has holes for Arduino boards and wires to enter.


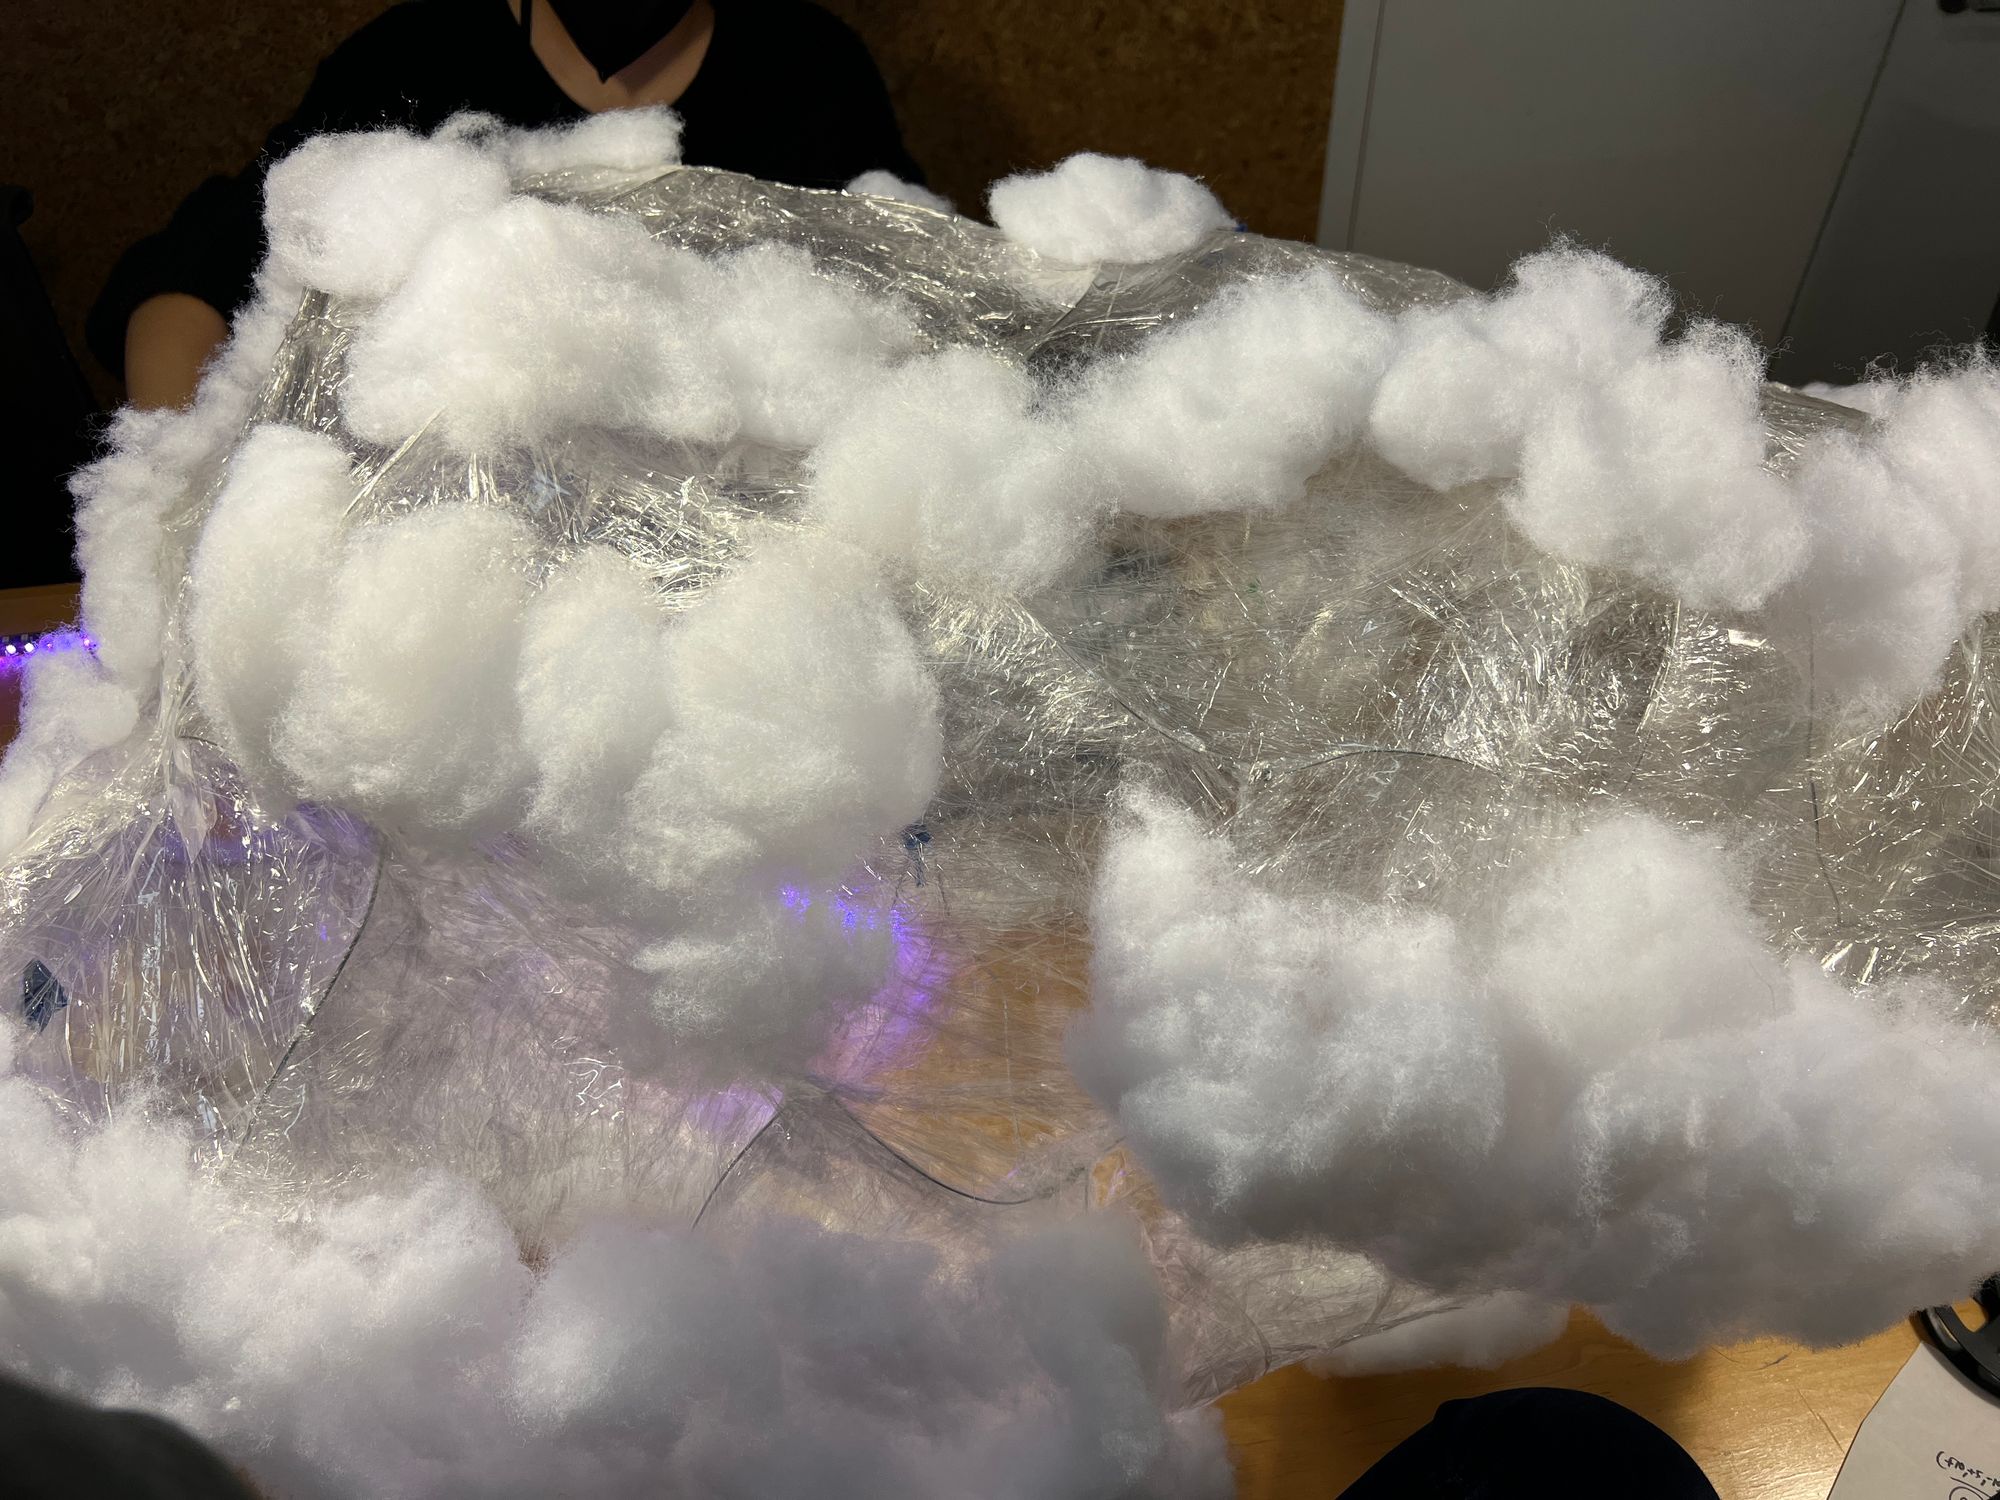

Then, we attached the cotton to the structure using a hot glue gun, and since it was not possible to attach all the cotton to the LED right away due to a problem with the code, we finished the first fabrication by making a path to attach the LED to the structure.
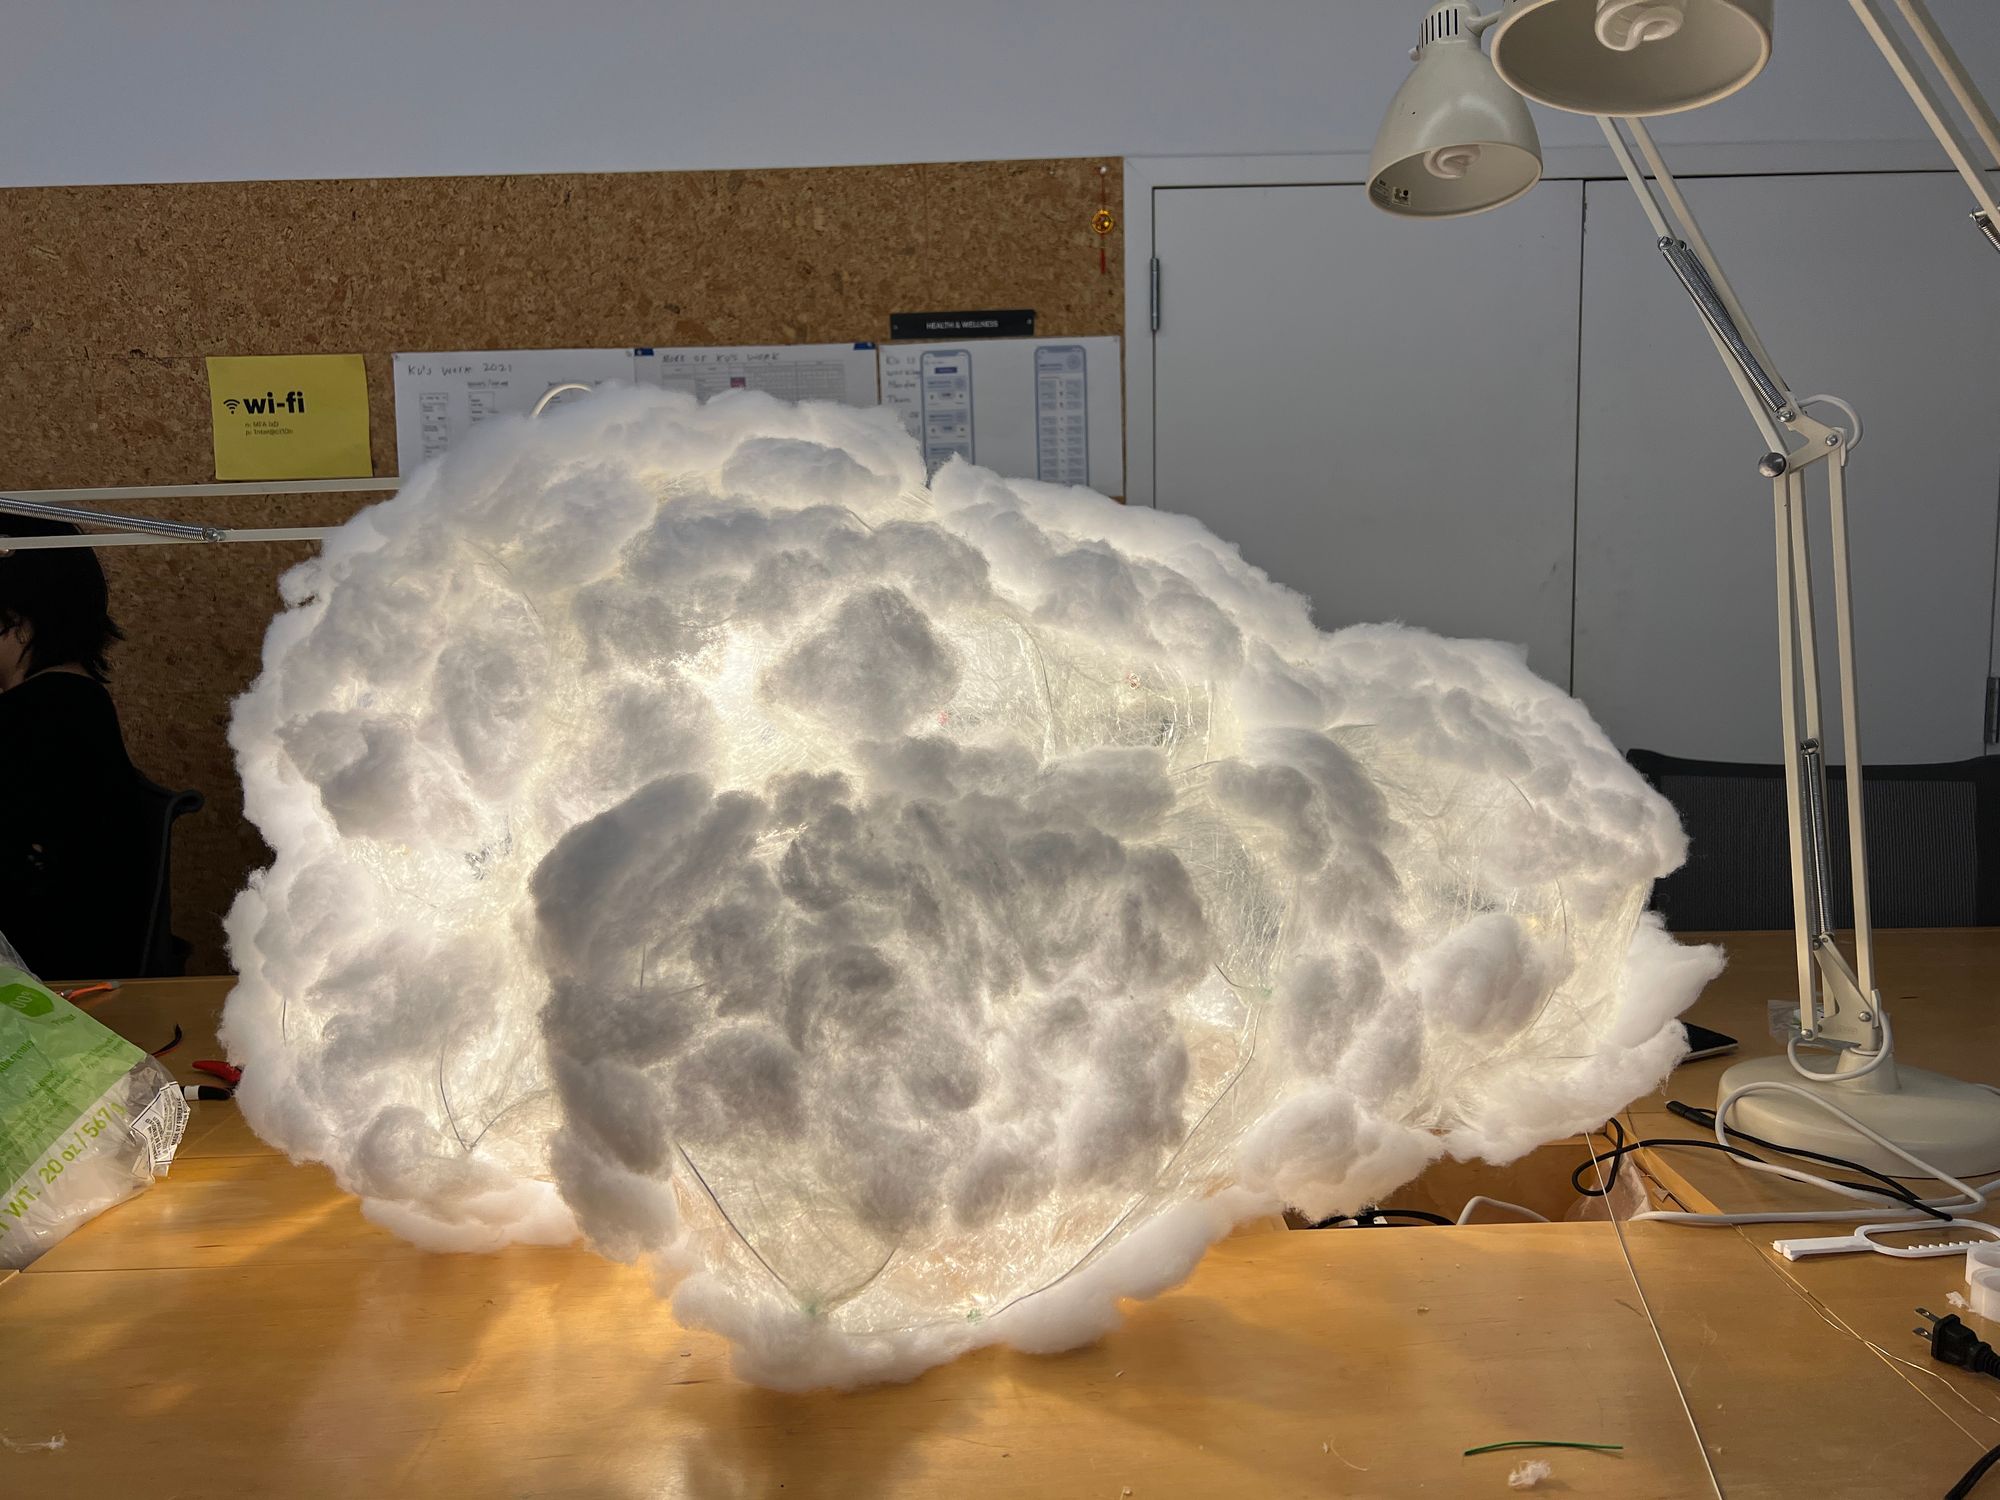
After solving the code problem, we tested around LED strips. Since it is a logic that gradually lights up from the bottom, the LED strips were surrounded from the bottom to the top, and then punched a small hole in the bottom to connect it to the Arduino board.
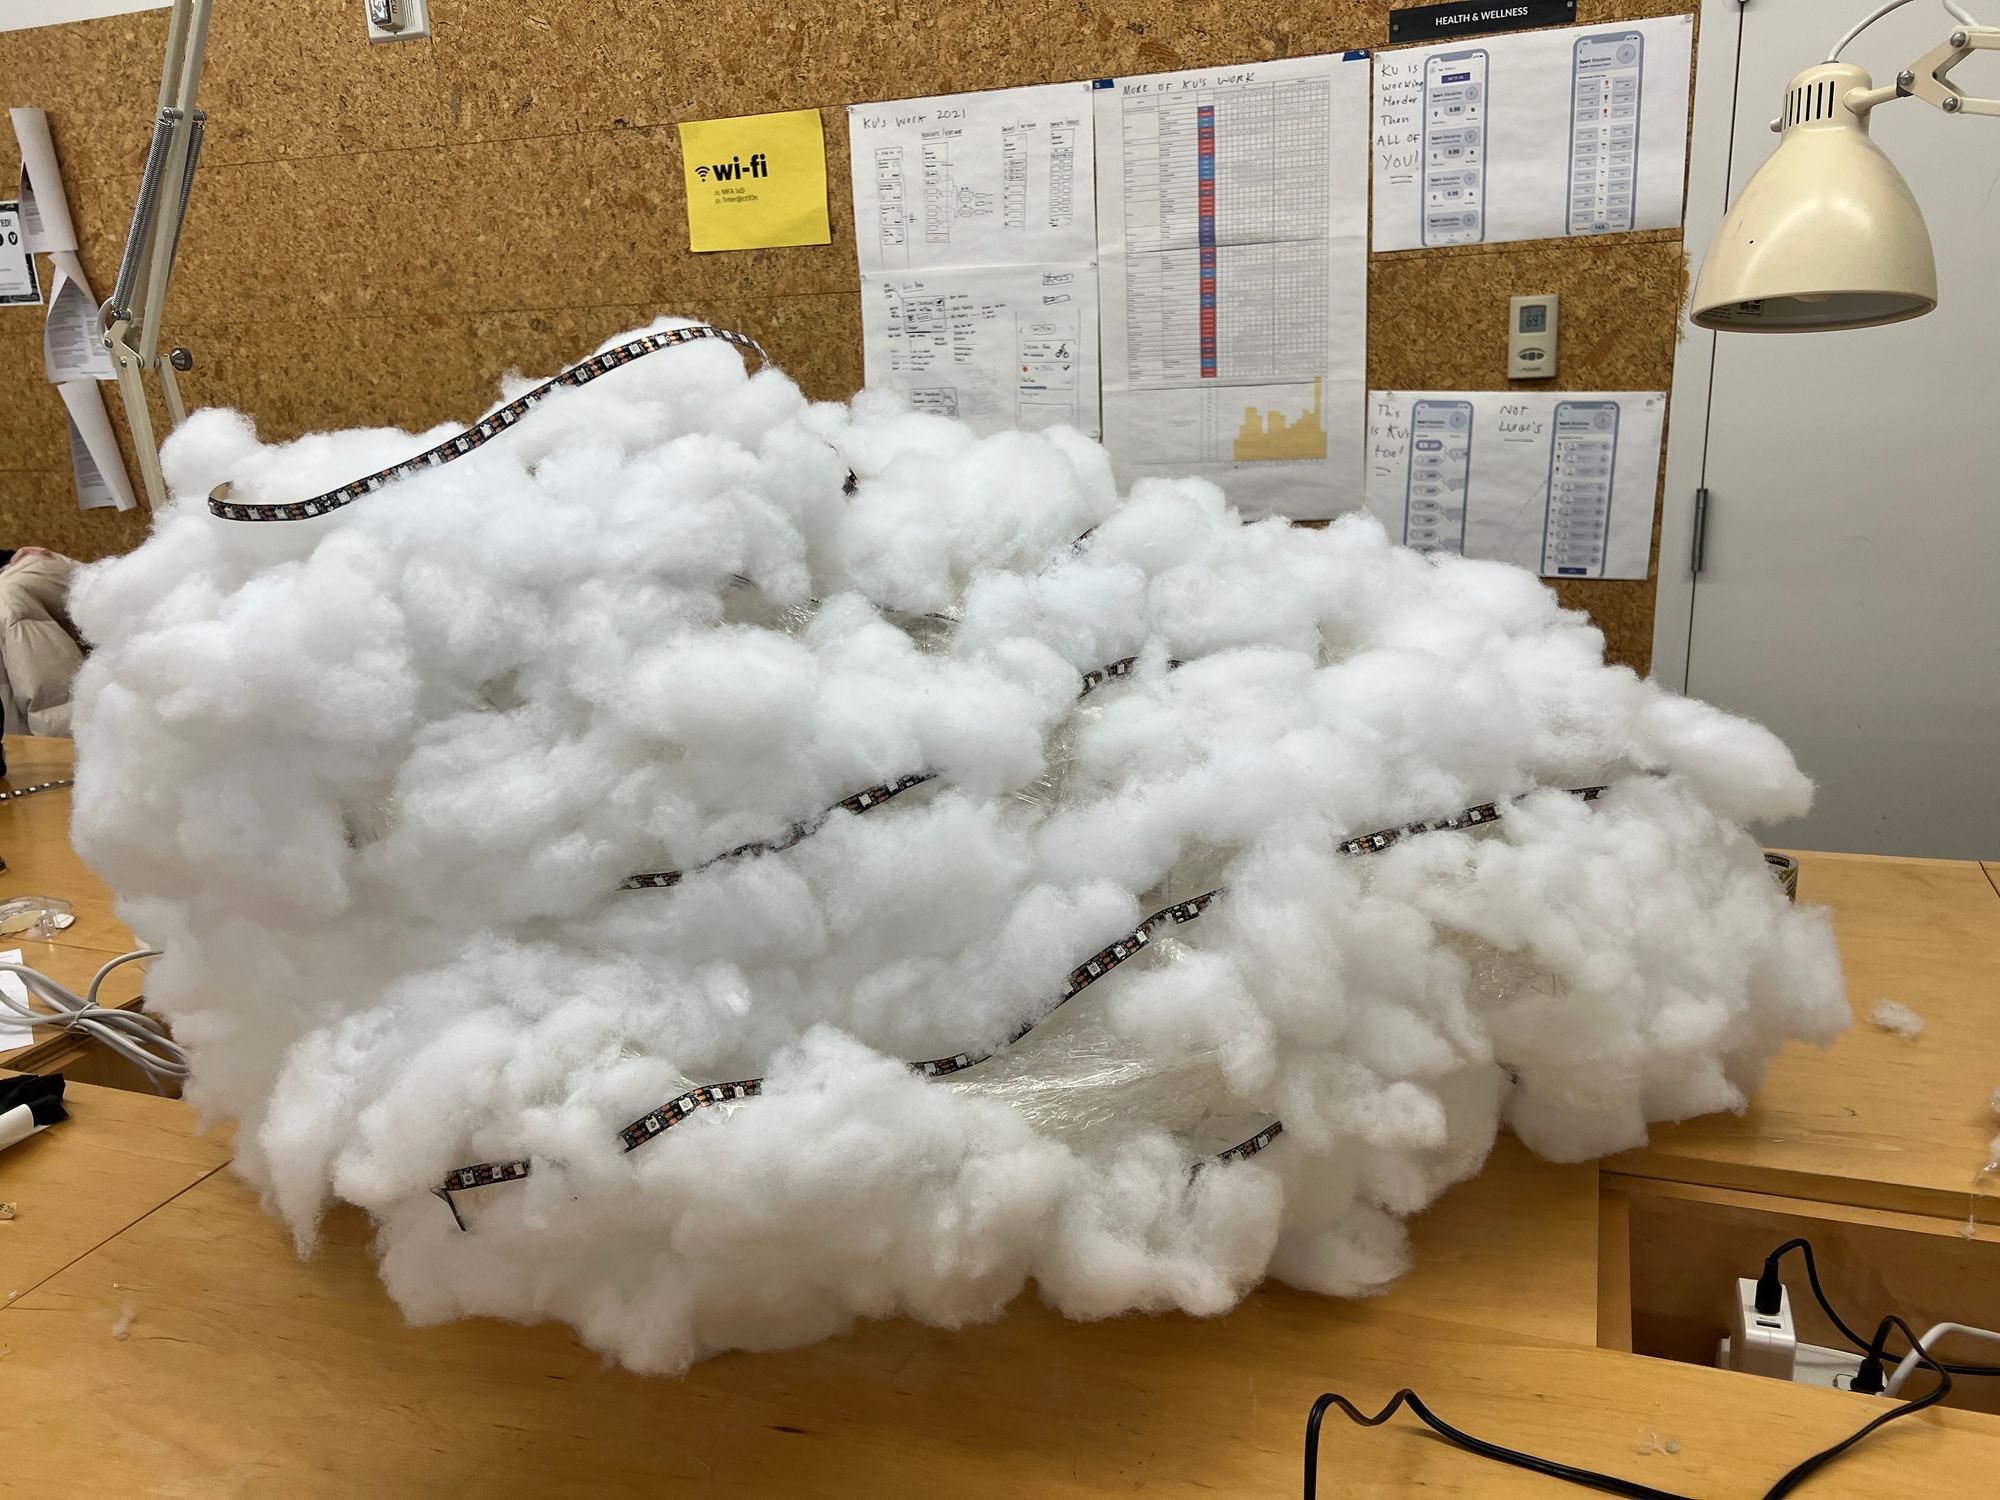
At about 80% finished, We ran the test again. Since the LED was covered with cotton, the brightness had to be adjusted, but since a large amount of LED was used(more than 700), it was modified while considering power and brightness at the same time.In addition, the demonstration day is in the morning, but it will be installed indoors, so we finished by checking the brightness when the lights were turned on and off.

After checking the code, the LED strips, and the brightness, we hung the cloud on the ceiling using cable ties and display straps.


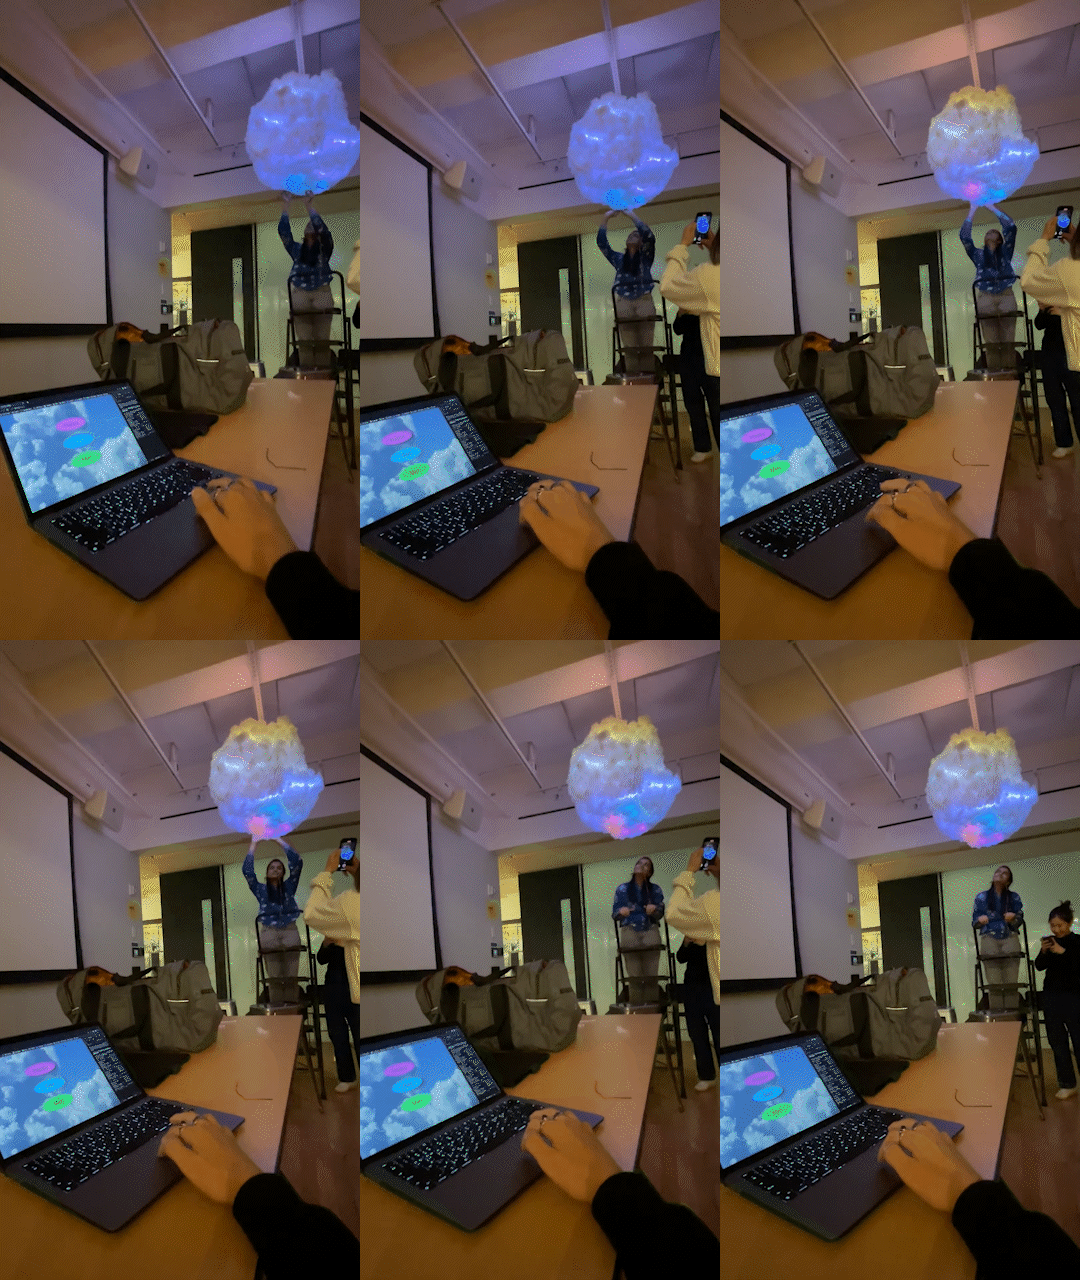


Tzuyi Lee, Sukyong(Jade) Kwon, Ju Eun Jeon, Harshi Rambhia
Bruno Kruse, Carrie Kengle, Eric Forman